

Last updated October 15, 2026
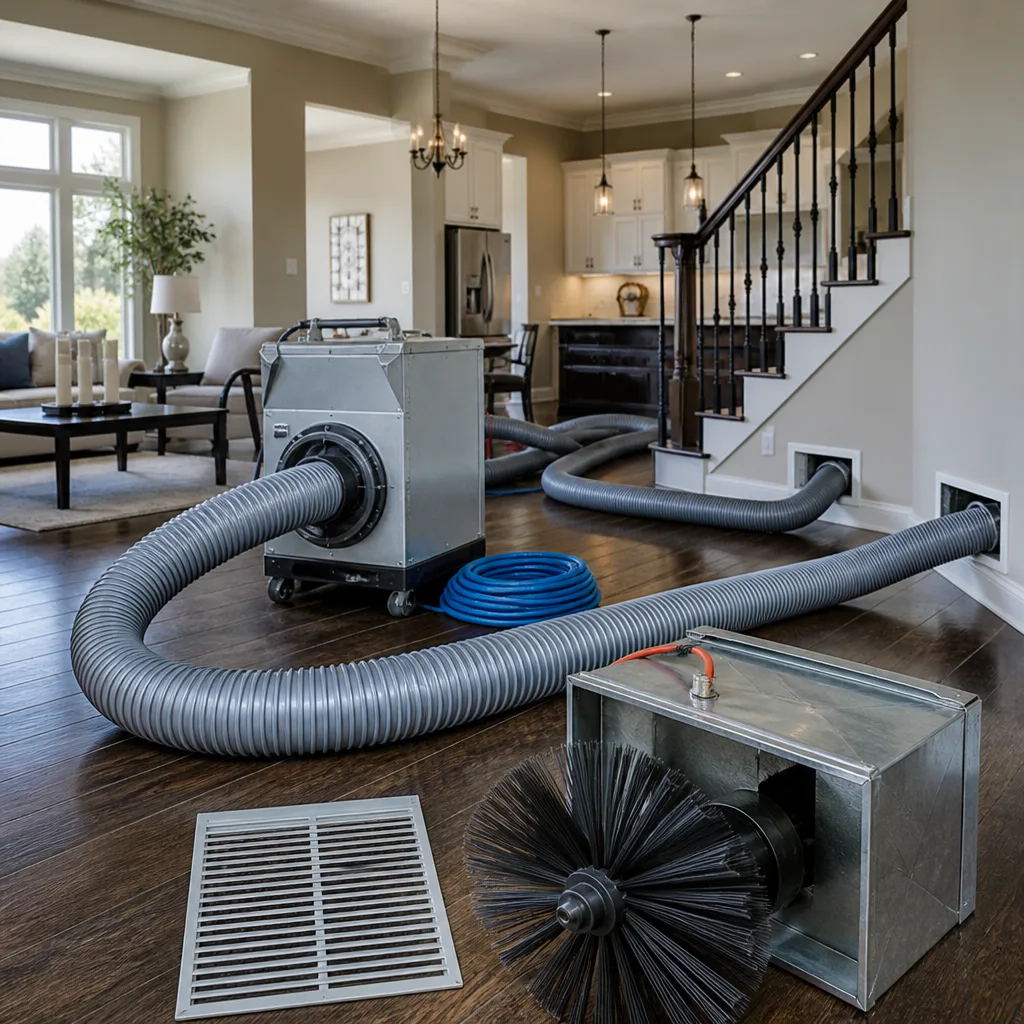 Whole-home duct cleaning
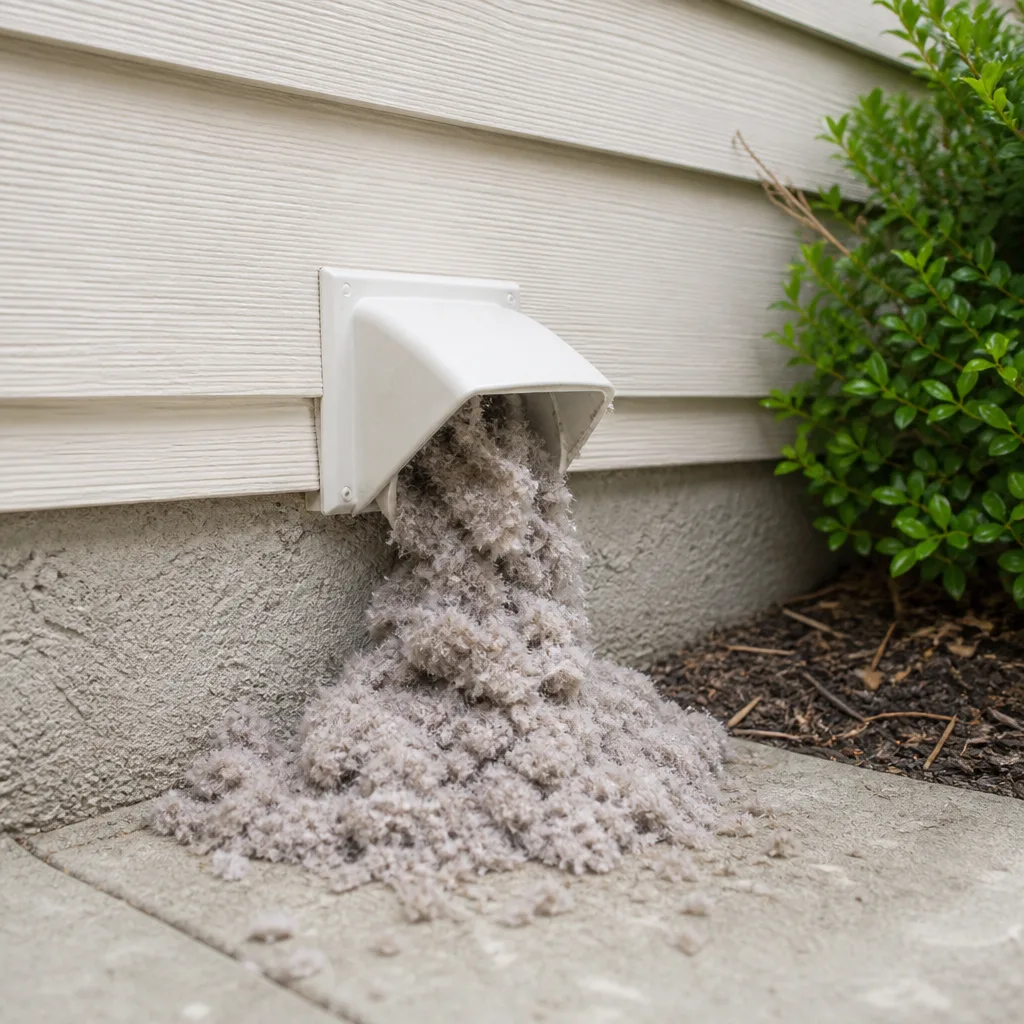 Dryer vent cleaning
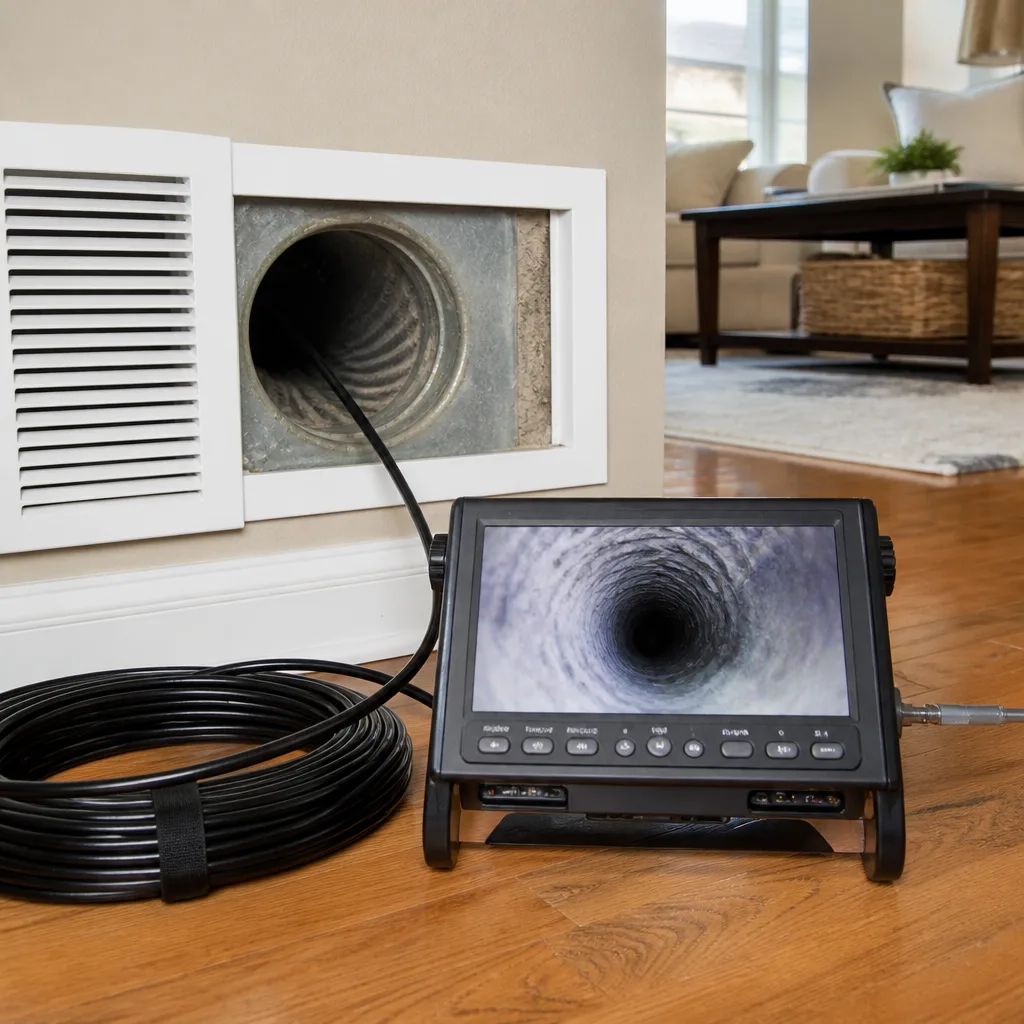 Camera inspection
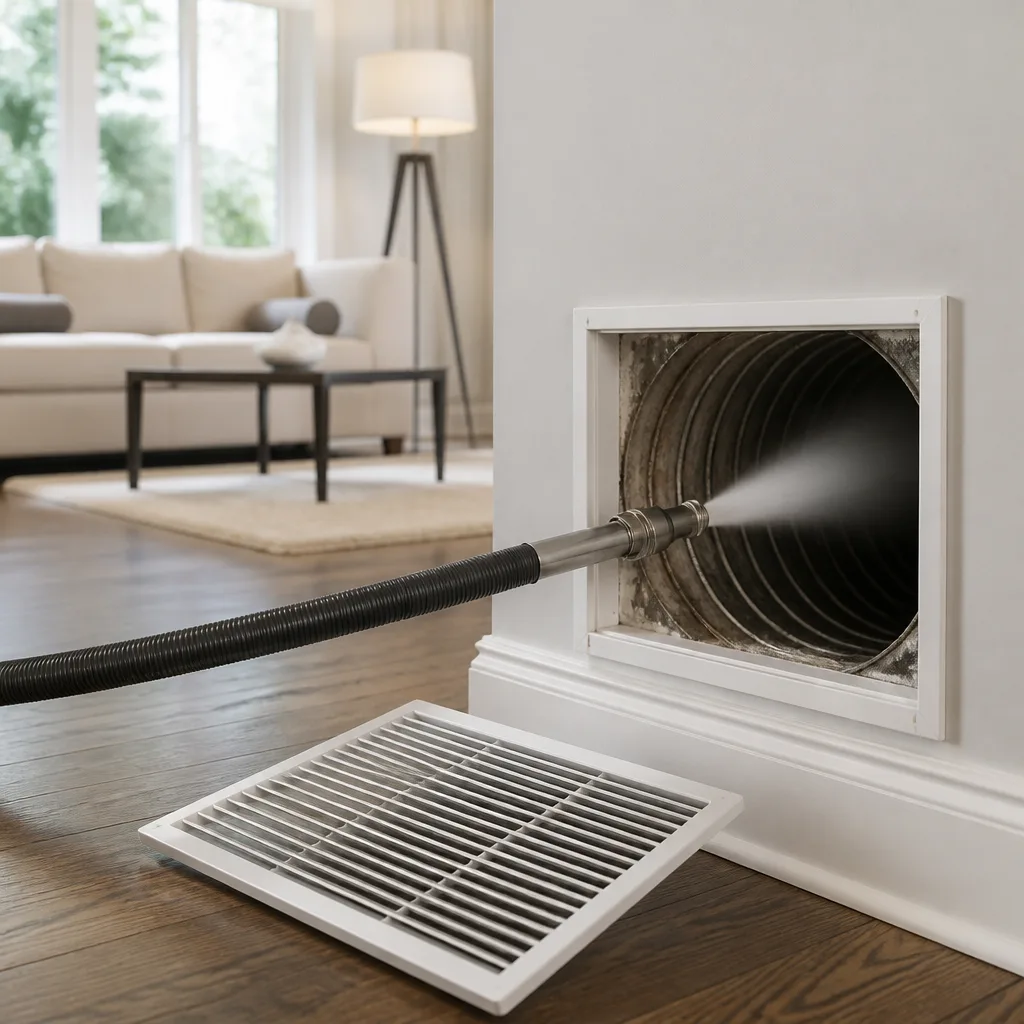 Sanitizing & deodorizing
Whole-system duct and dryer vent check with before-and-after photos - you see exactly what came out of your vents
That "$99 whole-house special" is a bait ad - the real number appears once they are in your hallway, or the "clean" is a shop-vac at the register. We photograph the inside of your ducts before and after instead.
Air Duct Cleaning Maintenance Checklist for Austin Homeowners
A clogged return grille in an Austin home running AC from March through November does more indoor air damage in one year than the same grille in a Chicago home does in three. That’s not a guess. It’s a function of runtime. When your system pulls air across a dirty filter or grille for eight months straight, the dust load inside the ducts compounds at a rate most generic checklists never account for. This guide is built for Austin’s actual HVAC calendar, not a four-season template written for the Midwest. We’re going to give you the monthly, semi-annual, and annual inspection points that matter, the post-event checks most homeowners miss, and a clear line between what you can do yourself and what needs a technician with a negative-air machine for proper Air Duct Cleaning services.
Styles & brands we work with
Quick Answer
The most effective air duct cleaning maintenance checklist for Austin homeowners has three parts: a monthly visual inspection of return and supply registers, a semi-annual filter and grille deep clean, and an annual professional assessment of static pressure and duct integrity. Homes with pets, recent renovations, or residents with allergies should shift to twice-yearly professional evaluations. The single highest-leverage habit is confirming your filter’s static pressure drop stays below 0.5 inches of water column, which tells you more about duct health than any visual check ever will.
Table of Contents
- Why Austin’s Climate Changes the Checklist
- Monthly Tasks: 10 Minutes or Less
- Semi-Annual Tasks: The Deep Clean
- Annual Tasks: The Technician-Level Inspection
- Post-Event Checks: Cedar, Drought, and Renovation
- The Five-Minute Visual Inspection
- Static Pressure: The One Metric That Matters
- DIY vs. Professional: Where to Draw the Line
- Common Mistakes to Avoid
- When to Call a Professional
- Frequently Asked Questions
- The Bottom Line
Why Austin’s Climate Changes the Checklist
Here’s the thing most national maintenance guides get wrong: they assume a heating season and a cooling season of roughly equal length. Austin doesn’t work that way. Your AC runs hard from late March through November, sometimes into December when we get those surprise 85-degree Thanksgiving weeks. That means your duct system sees continuous airflow for nine months of the year. Continuous airflow means continuous dust deposition. The same inspection schedule that works for a Minneapolis split-level with a five-month heating season simply doesn’t translate to a Barton Hills bungalow or a Round Rock two-story.
We’ve cleaned systems in Austin homes that hadn’t been touched in twenty years. What we find most often is a thick gray mat on the return side: skin cells, pet dander, pollen embedded in the fiberglass, and a fine layer of Hill Country limestone dust that settles into every seam. Add in the cedar fever season from December through February, when juniper pollen counts spike to levels that register on air quality monitors across Travis County, and you have a duct environment that needs more attention than the national average. The checklist below is calibrated to that reality.
Monthly Tasks: 10 Minutes or Less
The monthly layer of this checklist is about observation, not labor. You’re not cleaning anything. You’re looking for early warning signs that a problem is developing, so you can address it before it becomes a $600 duct cleaning or a $1,200 blower motor replacement. None of these steps requires tools. You need a flashlight and two minutes per room.
- Check the return grille for visible accumulation. Stand in the hallway where your main return lives (in most Austin homes, it’s a large grille near the thermostat or in a central hallway). Shine the flashlight at an angle across the grille face. If you see a gray or tan fuzz coating more than 20% of the slats, that’s your signal to vacuum it this month, not next month.
- Inspect the supply registers in bedrooms and living areas. Supply registers blow conditioned air out. Look for dark streaks forming on the wall or ceiling around the register. In Austin homes, this is often a combination of dust and condensation. It’s called ghosting, and it means airborne particulates are sticking to surfaces as air exits the register.
- Check the filter for bowing or bypass. Slide the filter out and hold it up to a light. If you can’t see light through it, it’s past due. If it’s bowed in the middle, the system is pulling harder than the filter can handle, which is a static pressure problem, not just a dirty filter problem. We’ll get to static pressure in a section below, because it’s the single most overlooked diagnostic in residential HVAC.
- Look for moisture or rust around the indoor unit. Austin’s humidity means condensation is normal, but standing water or rust streaks on the cabinet or the condensate drain pan are not. They indicate a drainage problem, which creates the exact dark, damp environment where mold can grow inside ducts.
If any of these monthly checks turns up something concerning, take a photo with your phone and keep it. A visual record over three months tells you whether a problem is progressing or holding steady. That’s genuinely useful information when you eventually call a professional.
Semi-Annual Tasks: The Deep Clean
Twice a year, in early spring before the AC season kicks in and again in late fall before cedar season hits, set aside a morning for the homeowner-level deep clean. This is where you actually remove debris from the entry and exit points of the system. You’re not cleaning the full duct runs (that requires equipment we’ll describe later), but you’re handling the access points where the vast majority of visible debris accumulates.
Spring is the critical session in Austin. March is when oak pollen is peaking and the AC is about to start running daily. If you do one deep clean per year and skip the fall session, make the spring one count. Here’s the sequence:
- Vacuum the return grille thoroughly. Turn off the system at the thermostat first. Use a brush attachment on your vacuum and work the grille in both directions, along and across the slats. Then remove the grille entirely (usually two screws or a simple pull-down hinge) and vacuum the inside face and the throat of the return cavity as far as you can reach.
- Replace or clean the filter. For one-inch disposable filters in Austin homes, plan on replacement every 60 to 90 days during peak season, not the 90 days printed on the package. The package doesn’t know about cedar pollen or construction dust. If you use a washable filter, rinse it and let it dry completely before reinstalling. A damp filter grows mold faster than you’d think, especially in Austin’s humidity.
- Wipe down all supply registers. Take a damp microfiber cloth and wipe each register face and as much of the boot (the metal collar behind the register) as you can reach. In homes with pets, you’ll likely find a ring of hair and dust around the boot opening. Remove it. It’s restricting air before it ever reaches the room.
- Check the condensate drain line. This is the PVC pipe that runs from your indoor unit to a drain or outside. Pour a cup of white vinegar down the line to break up algae and mineral buildup. Austin’s hard water and warm climate make drain line clogs one of the most common service calls we see in July and August.
After the deep clean, note the date in your phone or on a sticker on the furnace cabinet. The record matters because it tells you how fast your system re-accumulates debris, which tells you whether your filtration setup is adequate. If you deep clean in March and the return grille is coated again by June, that’s not a cleaning problem. That’s a filtration problem.
Annual Tasks: The Technician-Level Inspection
Once a year, the checklist shifts from what you can see to what you can’t. A professional inspection of your duct system covers the full length of the return and supply runs, the plenum, the blower compartment, and the evaporator coil. The coil is where Austin homes get into trouble: months of continuous cooling means constant condensation, which means any dust that slips past the filter gets glued to the coil fins by moisture. A caked coil reduces efficiency and pushes dust back into the living space.
The technician should check three things, and you should ask about all three by name:
- Negative-air extraction viability. This is the process of connecting a powerful vacuum unit to the duct system to create negative pressure, so debris is pulled out rather than pushed into the living space. A technician should confirm your system’s access points will support it.
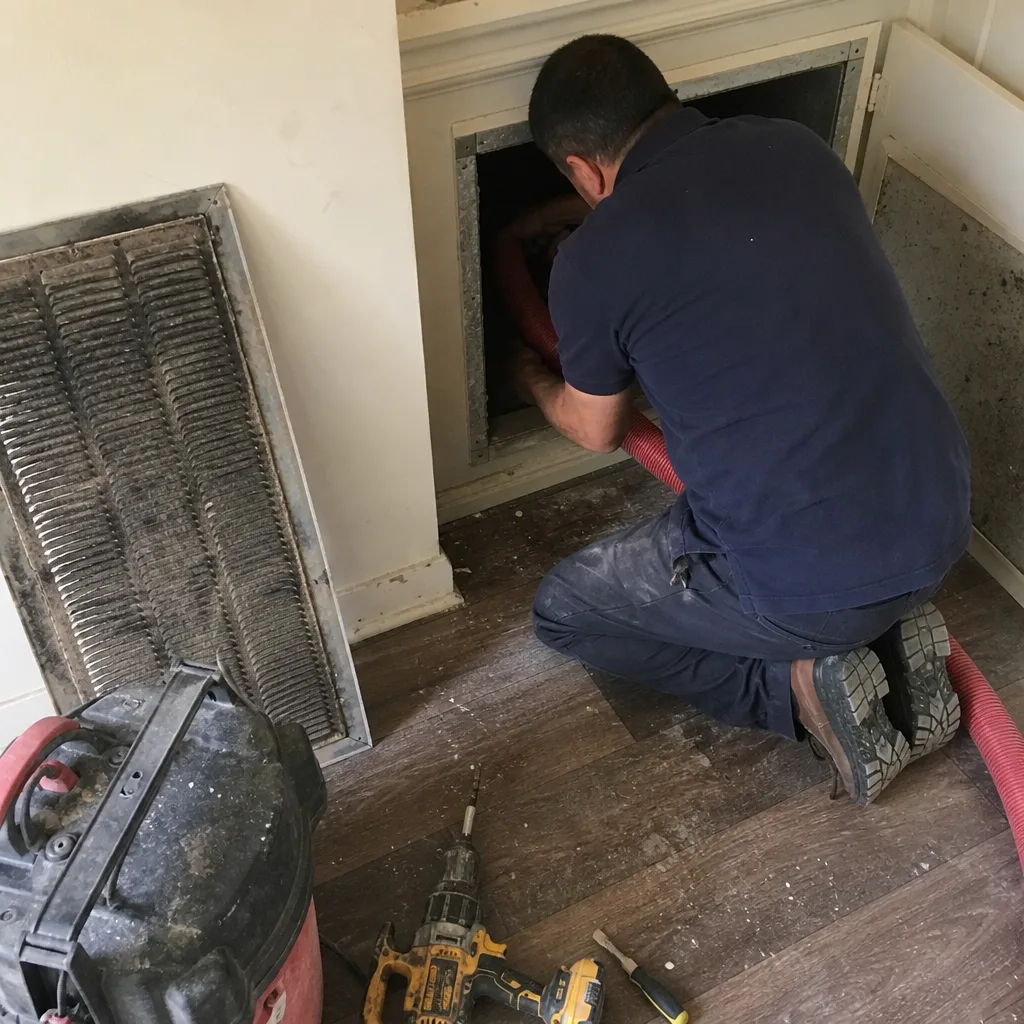
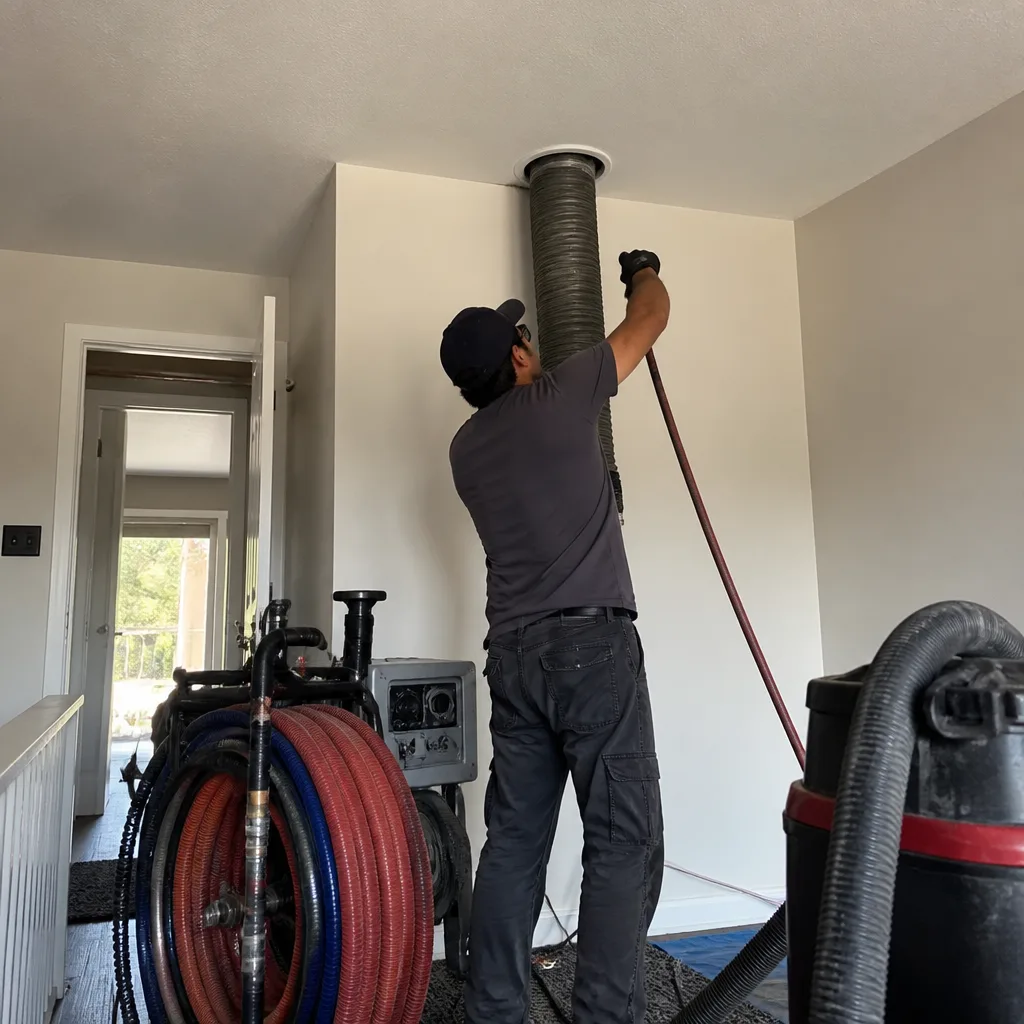
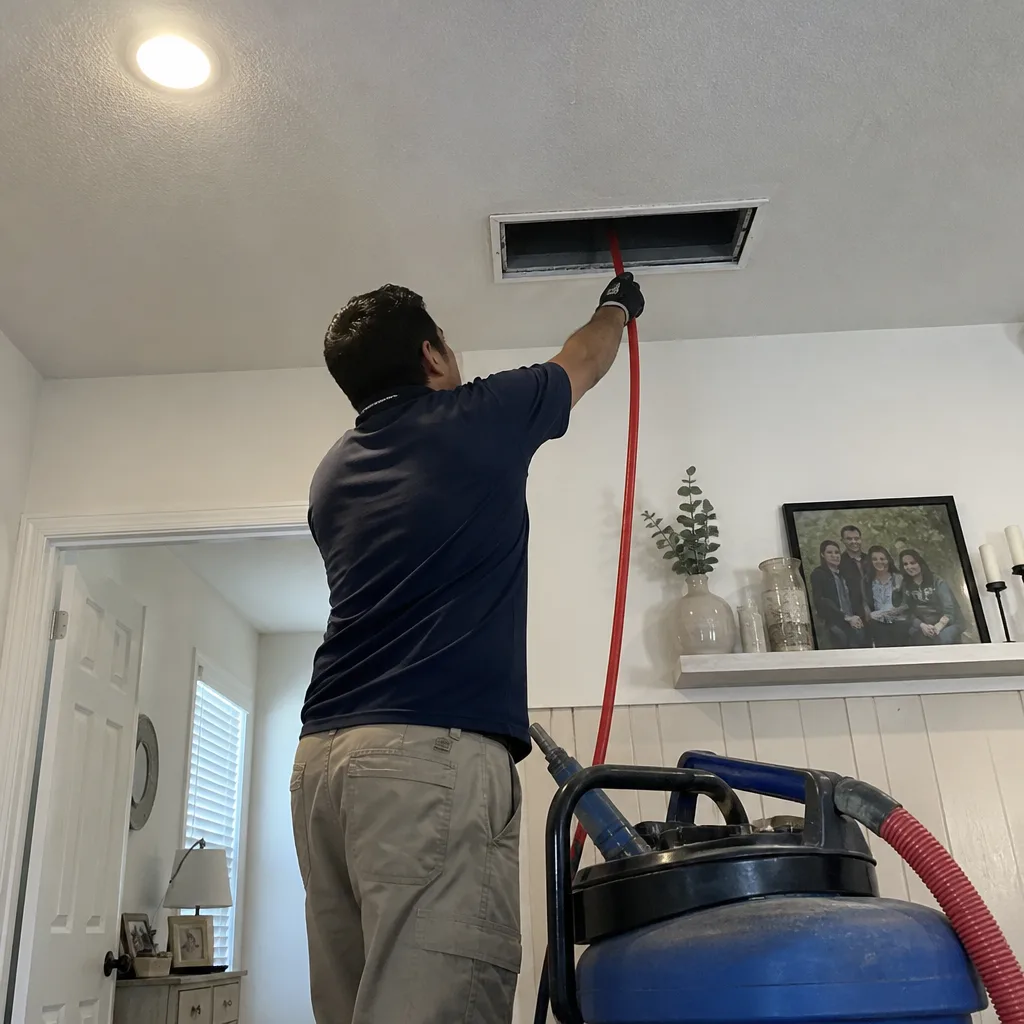
- Brush agitation coverage. Rotobrush systems use rotating bristles to dislodge debris from the duct walls. Nikro negative-pressure units then pull that loosened debris out. The combination matters: brush without suction just stirs everything up, and suction without brush force leaves the stuck-on film behind.
- HEPA filtration during cleaning. Abatement Technologies HEPA filters on the negative-air unit keep the loosened particles from being exhausted back into your home during the cleaning. This is the difference between a real cleaning and the box-store shop vac approach that makes indoor air worse for a week.
For an in-depth look at what a professional cleaning actually involves, read our guide to Air Duct Cleaning in Austin. It covers the full process from initial inspection to final walkthrough.
Post-Event Checks: Cedar, Drought, and Renovation
Austin’s biggest air quality events don’t fit neatly into a monthly calendar. They come in waves: cedar fever season running December through February, drought-driven dust storms in the hottest months, and the fine particulate cloud of a home renovation. Each one throws a different kind of debris at your duct system, and each one calls for a specific post-event check.
After Cedar Season
When mountain cedar pollen spikes, typically peaking in late December and holding through January, fine granules work their way through the return duct and coat the filter and coil surfaces. The post-season check focuses on the coil and the blower compartment. If you open the blower door (power off first) and see a pale brown powder on the blower wheel or the coil fins, that’s cedar particulate that made it past the filter. It needs professional removal. Simply replacing the filter won’t address what’s already stuck to the internal surfaces.
After Drought-Driven Dust Storms
During extended dry stretches, west winds kick up the fine, chalky dust of the Edwards Plateau and push it into the Austin metro. This dust is finer than typical household dust and settles deep into the return duct, especially in homes with older, leaky return runs. The post-event check is a visual inspection of the interior of the return duct near any joints or seams. If you see a thin white-gray coating beginning to build, that’s the Hill Country dust signature. Schedule a professional evaluation before the next AC season drives it deeper into the supply side. If you’re wondering whether your ductwork is worth cleaning or replacing, this is the point where the condition of the return runs usually gives the answer.
After a Renovation
Any home renovation in Austin generates fine particulate: drywall dust, tile grout dust, sawdust from framing lumber. Drywall dust is particularly problematic because it’s alkaline and extremely fine. It bypasses standard one-inch filters easily and coats the evaporator coil, hardening into a cement-like layer when it contacts moisture. The post-renovation check has to happen before the system runs normally again, not after. Turn the system off during the renovation if at all possible, seal the supply and return registers in the work area, and schedule a professional coil and duct assessment before turning it back on. Ten minutes of precaution during the renovation saves a $400 coil cleaning afterward.
The Five-Minute Visual Inspection
The most useful maintenance skill an Austin homeowner can develop is a quick, no-tools visual inspection of the supply and return registers. You’re looking for five specific things, in order:
- Color. Normal accumulation is gray or tan. Dark brown or black streaks on the register face or the wall around it suggest soot (if near a candle-burning room or fireplace), mold (if moisture is present), or heavy tobacco residue. Green or black spotting on the inside of a supply boot with visible moisture means mold has a foothold, and that’s a professional call, not a DIY wipe-down.
- Pattern. Even accumulation across the register face is normal for a home with consistent airflow. Heavy accumulation on one side of the register but not the other suggests an airflow imbalance in that branch run, possibly a partially collapsed duct or a damper that’s moved out of position.
- Thickness. Use a key or a coin to gently test the depth of the accumulation on the register face (don’t scrape; just touch). Less than 1/16 of an inch is cosmetic and can be wiped. More than 1/8 of an inch means the interior of the run is almost certainly holding significant debris and the register face is just the visible symptom.
- Airflow. Hold a tissue near each register while the system is running on fan-only mode. Compare the force of the tissue movement from room to room. A 20% or greater difference between rooms on the same floor suggests a leak, a kinked flex duct, or a damper problem.
- Odor. This one takes the full five minutes because you have to sit with it. A system that hasn’t run for a day or two will often smell stale for the first 30 seconds of operation. But a persistent musty smell through the entire run cycle, especially when the AC transitions from cooling to fan-only, means there’s organic material somewhere in the system. It’s almost never the supply ducts alone; it’s usually the coil or the drain pan holding water and debris.
Do this inspection every month for three consecutive months. You’ll establish a baseline for your home. The baseline is what makes future anomalies obvious. Without a baseline, you’re guessing.
Static Pressure: The One Metric That Matters
Here’s the number we want every Austin homeowner to understand: 0.5 inches of water column. That’s the maximum recommended static pressure drop across the filter and coil in a residential system. It’s measured in inches of water column because it’s a tiny pressure, the kind of pressure it takes to lift water half an inch up a tube. Most systems should run at 0.4 to 0.5 inches. Above 0.5, the blower is working harder than it was designed to, which means it’s pulling more amps, running hotter, and circulating less air than the system’s rated capacity.
What causes high static pressure? The usual culprits in Austin homes are deeply pleated filters with too high a MERV rating for the blower to handle, undersized return ductwork (common in 1980s and 1990s construction), or a coil that’s been coated in dust and grime from years of service with marginal filtration. A visual check of the filter tells you if it looks dirty; a static pressure reading tells you if the system is struggling even when the filter looks clean. That’s the difference, and it’s a meaningful one.
You can buy a simple manometer or a static pressure test kit for under $60, but honestly, this is where the annual professional inspection earns its keep. A technician with a digital manometer can take static pressure readings at the return and supply plenum in five minutes and tell you exactly where the restriction lives. If the number comes back at 0.6 or above, you have a problem to solve before it shortens the life of the blower motor by several years.
For the filter itself, we recommend standard MERV 8 filters for most Austin homes unless someone in the house has a diagnosed respiratory condition that calls for higher filtration. Higher MERV ratings are not automatically better. A MERV 13 filter on a system that can’t handle it creates high static pressure, reduces airflow, and sends more dust into the supply ducts than a properly fitted MERV 8 ever would. Honeywell and Aprilaire both make good-quality MERV 8 options, and Guardsman offers solid mid-range filtration for homes with pets. The key is matching the filter to the blower’s capabilities, not just buying the highest number on the shelf.
DIY vs. Professional: Where to Draw the Line
This is the section where most checklists get vague. They say things like “call a professional if the problem is serious” without defining serious. Here’s the line, drawn clearly for Austin homeowners: you can clean the access points; you should not attempt to clean the runs, the coil, or the blower assembly yourself.
Tasks that are safely within homeowner range:
- Vacuuming return and supply grilles
- Replacing filters
- Wiping register faces and reachable boot interiors
- Clearing debris from the condensate drain line with vinegar
- Keeping the outdoor unit’s coil fins clear of leaves, grass clippings, and cottonwood fluff (Austin gets a heavy cottonwood season in May)
Tasks that require a professional with negative-air equipment:
- Full-duct cleaning (the full length of the supply and return runs)
- Evaporator coil cleaning (the coil sits in the airflow path and must be cleaned with the right chemicals and technique to avoid fin damage)
- Blower wheel and blower compartment cleaning (the blower wheel’s curved fins trap dust like a drum, and cleaning it wrong bends the fins and throws the wheel out of balance)
- Plenum and trunk line inspection and cleaning
- Any mold remediation inside the duct system
- Static pressure testing and system balancing
The reason for the hard line on the professional side is equipment, not skill. A shop vac with a long hose attachment doesn’t have the suction power to reach past the first few feet of a duct run, and it certainly doesn’t create the negative pressure required to pull debris from the deepest reaches of the system. Worse, a shop vac exhausts into the room, which means every particle it manages to dislodge goes right back into your living space. The professional approach is negative-air extraction: a powerful unit connected to the duct creates a vacuum that holds the entire system under negative pressure, so every particle dislodged by brush agitation gets pulled toward the collection unit, not into your hallway. Abatement Technologies HEPA filtration on the exhaust side completes the loop. That’s not something you replicate with rentable equipment from a home center.
If you’re looking for the full professional cleaning experience in Austin, visit Kestrel Air Duct Austin home to see how we approach the work.
Common Mistakes to Avoid
- Relying on the filter package’s printed replacement schedule. The “90 days” on the box assumes moderate runtime and average air quality. Austin’s oak pollen in March, cedar in January, and cottonwood in May all shorten that window. Check monthly, replace when light can’t pass through.
- Using a filter with too high a MERV rating. We covered this above, but it bears repeating because we see it constantly. A MERV 13 filter on a system designed for MERV 8 creates high static pressure and actually reduces filtration effectiveness over time as air bypasses the filter around the edges.
- Closing off vents in unused rooms to save energy. Your duct system was designed for a specific airflow volume. Closing vents increases static pressure throughout the system, which pushes harder on the remaining open runs and draws debris into the system faster. Leave the vents open, or have a professional rebalance the system if you genuinely want to zone off a room.
- Running the fan continuously without upgrading filtration. Continuous fan mode (the “on” setting at the thermostat) does help even out temperatures between floors in Austin’s two-story homes. But it also moves air constantly, which means more dust passes through the filter every day. If you run the fan continuously, upgrade to a better filter (MERV 8 or 10, not 13) and change it more often.
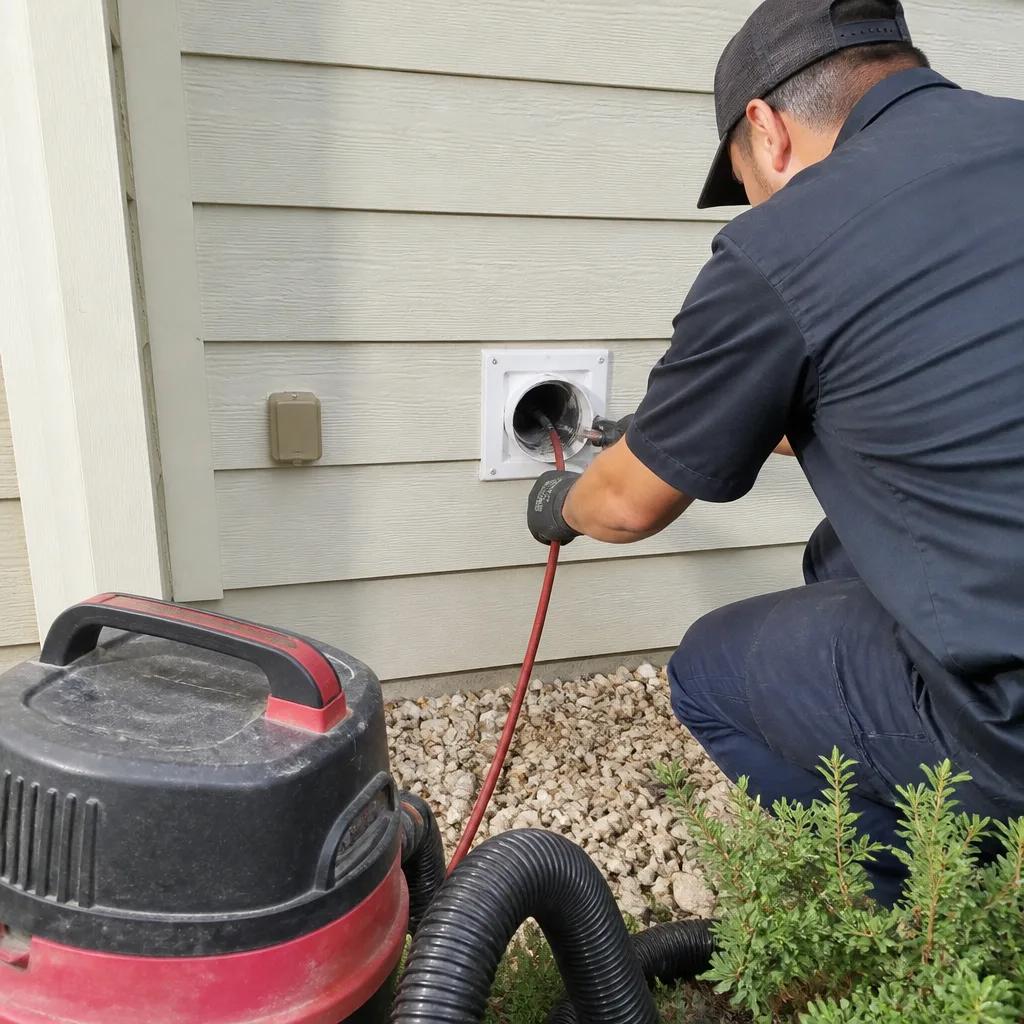
- Ignoring the dryer vent in the duct maintenance picture. Dryer vents are part of the home’s airflow system, and Austin’s dry winter air combined with the fine lint from fast-drying fabrics creates the conditions for fast clogging. A clogged dryer vent sends lint back into the laundry room, which then gets pulled into the HVAC return if the laundry room shares air with the rest of the house. Our guide to Dryer Vent Cleaning in Austin covers this in detail.
- Skipping the post-renovation check. We said it above and we’ll say it again because it’s the most expensive mistake we see recoverable damage from: drywall dust and HVAC systems are a bad combination. The coil, the blower, and the ducts all suffer. Sealing off the work area and scheduling a professional assessment before the system runs again is the single most valuable maintenance step a renovating homeowner can take.
- Believing that “duct cleaning” is a scam category because some companies make it one. Yes, there are low-integrity operators who advertise a cheap price and then upsell aggressively once the van is in the driveway. That’s a real problem. But the solution isn’t avoiding duct cleaning entirely; it’s choosing a company that puts the price in writing before the work begins. A written price before any work starts is the clearest signal you’re dealing with the accountable kind of company.
When to Call a Professional
Call a professional when the five-minute visual inspection finds thick, dark, or damp accumulation; when the static pressure reading (if you’ve had one done) comes back above 0.5; when you smell persistent mustiness through the full run cycle; or when a renovation has happened and the system has been running through it. Also call if you’ve lived in the home for five years or more and have never had the ducts cleaned. Duct systems accumulate debris over time even with good filtration, and the San Antonio-area homes built in the 1980s and 1990s often have undersized returns that make the problem worse. Kestrel Air Duct Austin offers free estimates in Austin – call (254) 848-6913 and we’ll provide a written price before any work begins.
Frequently Asked Questions
Air duct cleaning in Austin typically costs between $350 and $700 for a standard single-system home, with larger homes or homes with multiple systems running higher. The price depends on the number of supply runs, the number of returns, the presence of flex duct versus rigid metal duct, and whether the coil and blower are included. At Kestrel Air Duct Austin, the written price is in your hands before a single vent is touched. Call (254) 848-6913 for an exact quote.
Because they’re not cleaning the full system. A cheap quote often covers only the “up to” number of vents, charges extra for the return, extra for the plenum, extra for the coil, and by the time the technician is finished the price has doubled. Some operators also skip the negative-air extraction step entirely and use a brush on a drill or a shop vac. Our price is a flat price per system, agreed before work starts, with no per-vent pricing. That’s the Kingswell Guarantee at work, and it’s been our standard since 2004.
Two ways. First, ask for before-and-after photos of the interior of the ducts, the coil, and the return plenum. Any legitimate company should be able to provide these, and we take them on every job as standard practice. Second, look for the evidence of negative-air extraction: the access holes cut into the main supply and return lines, which should be sealed and patched cleanly after the work is complete. We cut clean access points, document everything photographically, and leave the job site cleaner than we found it.
For most Austin homes, every three to five years is adequate, provided the monthly and semi-annual maintenance items on this checklist are being done consistently. Homes with multiple pets, active construction nearby, or allergy-sensitive residents should consider every two to three years. The answer depends on your accumulation rate, which is why the monthly visual inspection matters so much. It tells you your number.
After. Cedar season in Austin runs roughly December through February, and that’s when the highest concentration of fine pollen enters the system. If you clean before cedar season, you’ll have a fresh deposit of pollen sitting in your ducts by March. Clean after cedar season, ideally in March or April, and you’ll start the AC season with a clean system that will hold through the summer months.
Indirectly, yes. Austin’s hard water creates mineral deposits in the condensate drain pan and line, which can lead to standing water, which creates the humid environment where mold grows inside the coil and supply plenum. The condensate drain line maintenance described above, the cup of vinegar every six months, is directly relevant to controlling this risk. If you’re already seeing rust streaks or standing water at the indoor unit, call for a professional assessment before the problem moves into the duct system itself.
The Bottom Line
Your duct system is a living part of your Austin home, and it responds to the same environmental pressures you do: cedar pollen, summer heat, drought dust, and the occasional renovation project. The checklist above gives you a monthly observation habit, a semi-annual hands-on cleaning routine, and an annual professional checkpoint. For more guides & resources, visit our blog. The goal is not to turn you into a professional HVAC technician. It’s to give you the knowledge to know when the system needs professional attention and the confidence to choose a professional who will do the job right, with a written price and a real guarantee. That’s the standard we’ve held since 2004, under the Kingswell Guarantee, and it’s the standard your home’s air quality deserves.
Written by Dale Whitmore, Owner at Kestrel Air Duct Austin, serving Austin since 2004.
See the difference
 Before
 After
After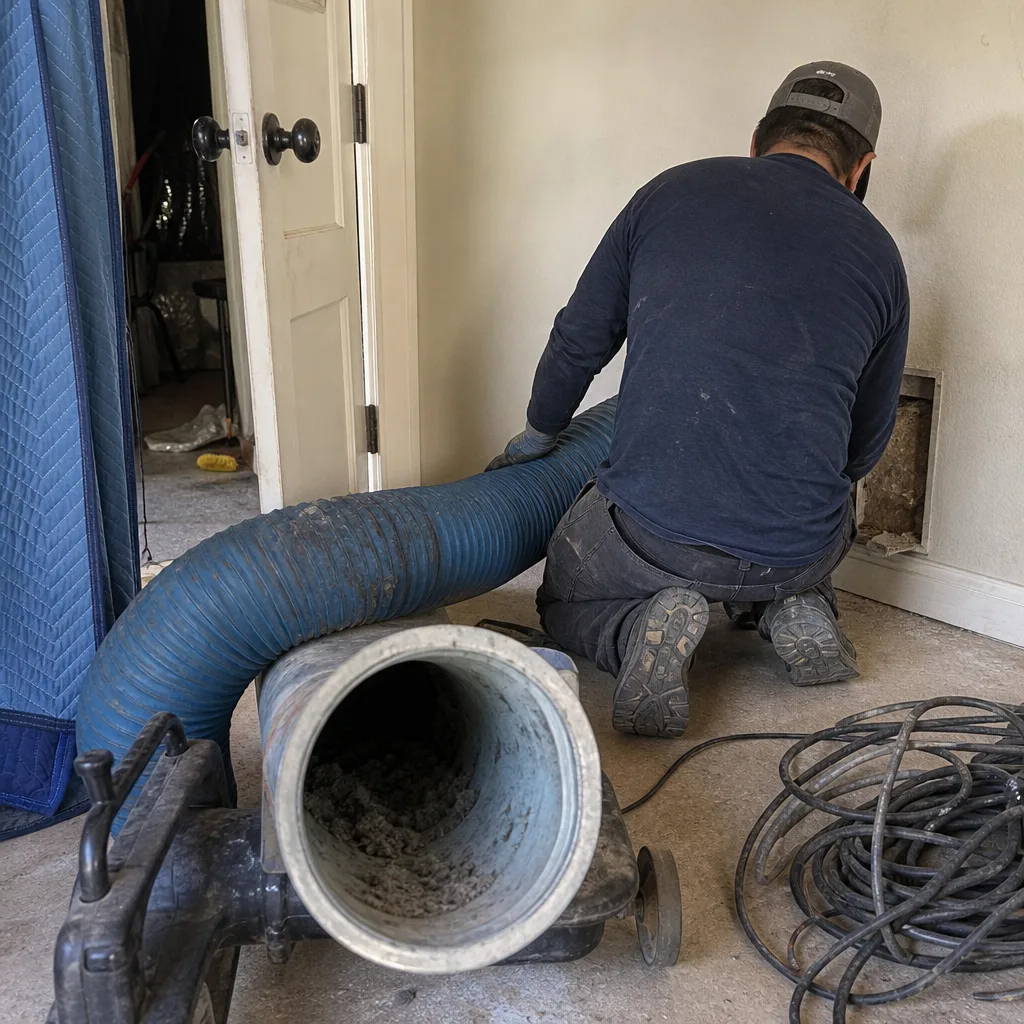 Before
 After
After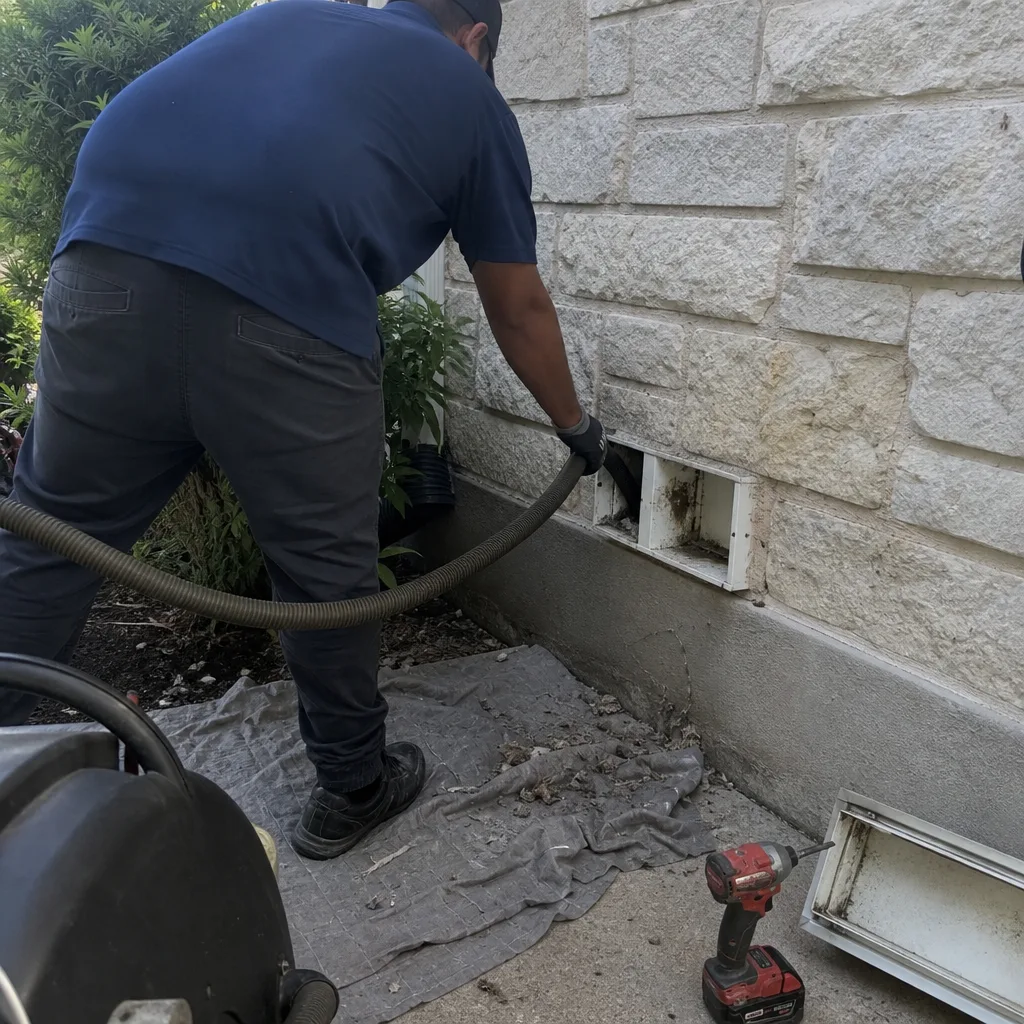 Before
 After
After